

Materials: Billy (new,deeper) bookcase, Aneboda 3-drawer drawer chest, 2 Billy Olsbo glass/panel doors
Description: Once upon a time there was a girl named Aneboda. She was the shy type, usually likes to stay in her private bedroom.
Then there was Billy. Billy was the cool kid on the block. Many like him and you can find him hanging out anywhere and everywhere. After many years, people were surprised to see Billy mature and start shedding his “shallow” side.
Aneboda always had a thing for Billy and she was refreshed to see this new deeper side of him.
As chance would have it, that girl in the corner caught Billy’s eye. Perhaps it was her looks that reminded him of a girl Ydre he once knew.
They fell in love. From any dimension, you could tell they were a fit. They got married and would live happily ever after.
Alright, enough of the fairy-telling.
Here’s the deal. I have to post this fast as Aneboda’s have been designated as a clearance item at my local Ikea. So if you like to make this, get them while you still can.


I was looking for a dining cabinet with drawers of the right size. Found the new Billy bookcase and Aneboda chest dimensions matched almost perfectly. I wanted to use the bottom panel of Aneboda (with legs!) and use Billy’s tall side panels. The widths of both were an exact match (31.5″). There was initially some concern that the Aneboda drawers would not fit the interior width of Billy which is just a bit smaller due to its thicker side panels. Finished product shows the drawers are just a little bit tighter but definitely not a problem.
Materials:
– 1 Billy Bookcase
(newer 31 1/2″ x 15 3/8″ x 79 1/2″)
– 1 Aneboda Chest of drawers Width: (31 1/2″ x 15 3/4″ x 39 3/8″)
– 2 Billy doors (your choice, I used Billy Olsbo glass/panel), can also use Ydre.
Steps:
1. Assemble Billy bookcase top, middle and side panels as per instruction manual. Leave out the bottom panel.
2. Align the bottom panel of Aneboda. measure and mark bottom edge of side panels to align to holes in bottom panel for drilling. Drilling particle board can be tricky. I recommend using brad point bits and a dowel kit. After drilling the right holes, install the bottom panel.
3. Next step is to transfer holes of Aneboda side panel for the drawer guides to Billy’s side panel. This is the most important alignment step. I taped a big piece of paper on Aneboda side panel and punctured the hole locations. This serves as template to mark the Billy side panels. Drill the holes on Billy and screw in the guide rails from Aneboda.
4. Install back board panel of Billy. The bottom has no panel to nail to so would hang loose. I initially drilled some holes on the side to install Billy’s bottom support strip from the back side to also be used for nailing support but this turned out to be a bad idea as the drawers would hit against it. I broke that and later installed a strip of wood for extra support on the bottom on the back side.

5. Assemble drawers of Aneboda per manual. Stand up the bookcase/cabinet and test the drawers. If things are properly aligned, they should be able to slide in and out easily with just a little bit of tightness.
6. Install the legs from Aneboda with another person’s help to tilt the cabinet while installing.
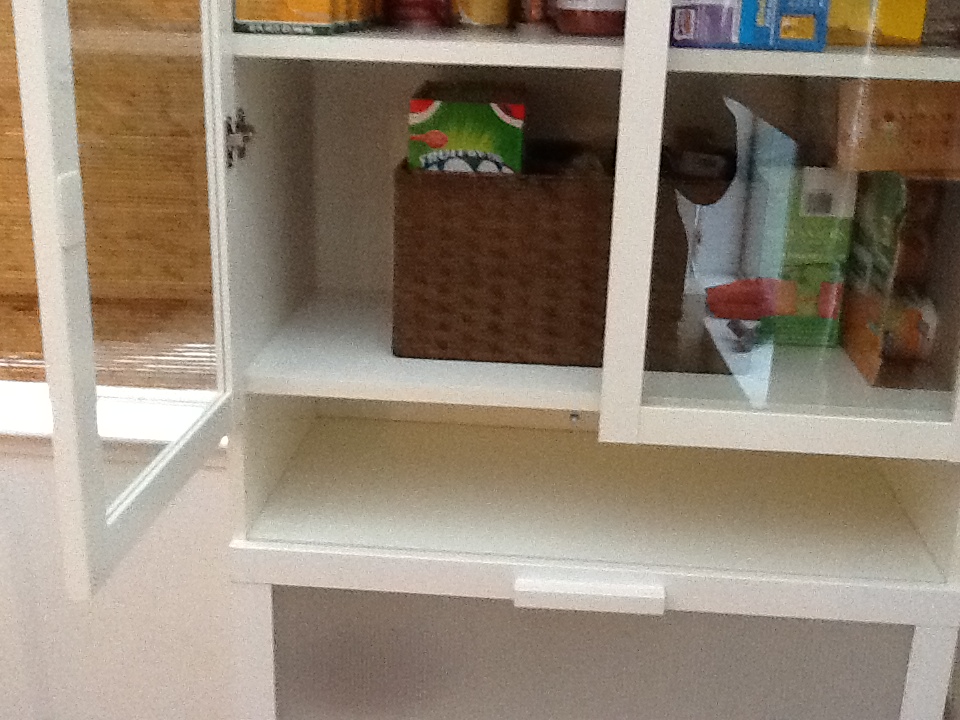
7. Add Billy shelves. One of the shelves should be placed on the first hole set of the bottom half of Billy to line up with the top of the top drawer. I was pleasantly surprised to find this is a perfect alignment! This creates a small shelf pocket in the middle with the fixed mid shelf as you can see in the picture. At this point, the basic frame is done and the cabinet is already usable.
8. Adding doors. I had a choice. The Billy Ydre naturally matches the Aneboda front panel. Cutting it to exactly cover the top exposed half all the way to the top of the drawers should be doable and would probably turn out nice. But I wanted glass doors. Billy Byom glass doors would have been perfect — no cutting and covers all but the short pocket I mentioned earlier. Unfortunately Ikea discontinued these a while back. I settled for the Billy Olsbo half glass/half panel. Saw off the bottom (panel) half just like the one done by a fellow hacker. After installation, the doors extend about an inch from the mid fixed shelf but that allowed me to install the push latches that came with the doors on the bottom of that shelf.
9. Top the whole thing off with the Aneboda top panel. Seems to look better that way. Final results: couldn’t be happier with my new cabinet!
~ W Chan, Mountain View, CA