
This is a cat ‘tree’ loosely based on this hack made almost entirely out of LACK tables. I loved the idea of making a giant cat tree for about half the price of a commercial one, and LACK tables are cheap and sturdy making them perfect for the job.
From the start, I decided I wanted 3 levels, but the only way to do that with the LACK coffee table as a base is to do a split level setup. To make this work, I tried to extend the legs of one side of the LACK table by connecting two together. Unfortunately this didn’t go as planned – you can’t just screw two legs from a LACK table together and have it work. However, supergluing the legs together worked really well. I screwed in some wood pieces to add some additional bracing in case the glue doesn’t hold, although straight metal brackets could be used here instead, or just rely on the glue. The legs on the other side of the table also needed cutting down by the height of the LACK tabletop (about 2″) so they fit correctly.
I originally made a simpler version of this – just attach a LACK side table to the coffee table – before working out how to get the long
legs done properly. If you only want two levels, this is a much easier way to go, but less fun.
Finally, I just picked a couple of bath mats and placed them on top. Our cats have a habit of clawing anything made of carpet, and I didn’t want to glue down scrap carpet or a rug that would be hard to remove.
The bath mats were perfect – they are non-slip, and simple to replace once the cats destroy them.
Materials:
* 3 LACK side tables
* 1 LACK coffee table
* 16 corner brackets + screws – I used these and FIXA screws.
* Superglue or wood glue (superglue is much quicker)
* 4 bath mats – I used SAXSKÄR and NÄCKTEN bath mats, but any can be used (NÄCKTEN mats are currently $2 at IKEA). The SAXSKÄR mats do happen to fit the top of a LACK side table perfectly however.
* Hacksaw and/or Dremel to shorten two of the legs.
Steps:
* Assemble the coffee table and one of the side tables per IKEA instructions.
* Take 4 legs from one of the side tables and glue the top of one to the bottom of the other. The top is identifiable by the screw hole in
the top. If using superglue, it only takes a few minutes to set. When doing this, I drilled a hole into the bottom of the legs and used the
LACK leg screws as a guide, but this probably isn’t necessary.
* Screw these long legs into the top of one of the LACK side tables.
* Take two legs from the 3rd lack side table and cut 5cm off the bottom. I used a Dremel cutting disk for most of this – mark 5cm from
the bottom on all sides and cut into it with the Dremel. If the cutting disk doesn’t cut away completely, use a hacksaw to finish
cutting the legs.
* Screw these shorter legs into the other side of the lack table. The legs are hollow – don’t worry about this.

* Screw the corner brackets to the bottom of all 8 legs on the two side tables. Use two brackets per leg, and put them on the insides.
Use a nail or punch to mark out the hole and it will make it easier to screw in. Do this by lying the lack side table on its side.
* Attach the small lack side table (the one without the long legs) to the top of the coffee table. Screw all the brackets down after lining
the legs up with the edge of the coffee table.
* Put the taller side table in place. Make sure the long legs are aligned with the corner of the coffee table and the short legs stand
on top of the other side table. Screw in all the brackets as before.
* Place the bath mats in appropriate places. If using the SAKSÄR mats, some cutting may be needed to get them to fit around the legs. Tape the edges if you do this to prevent them from getting frayed.
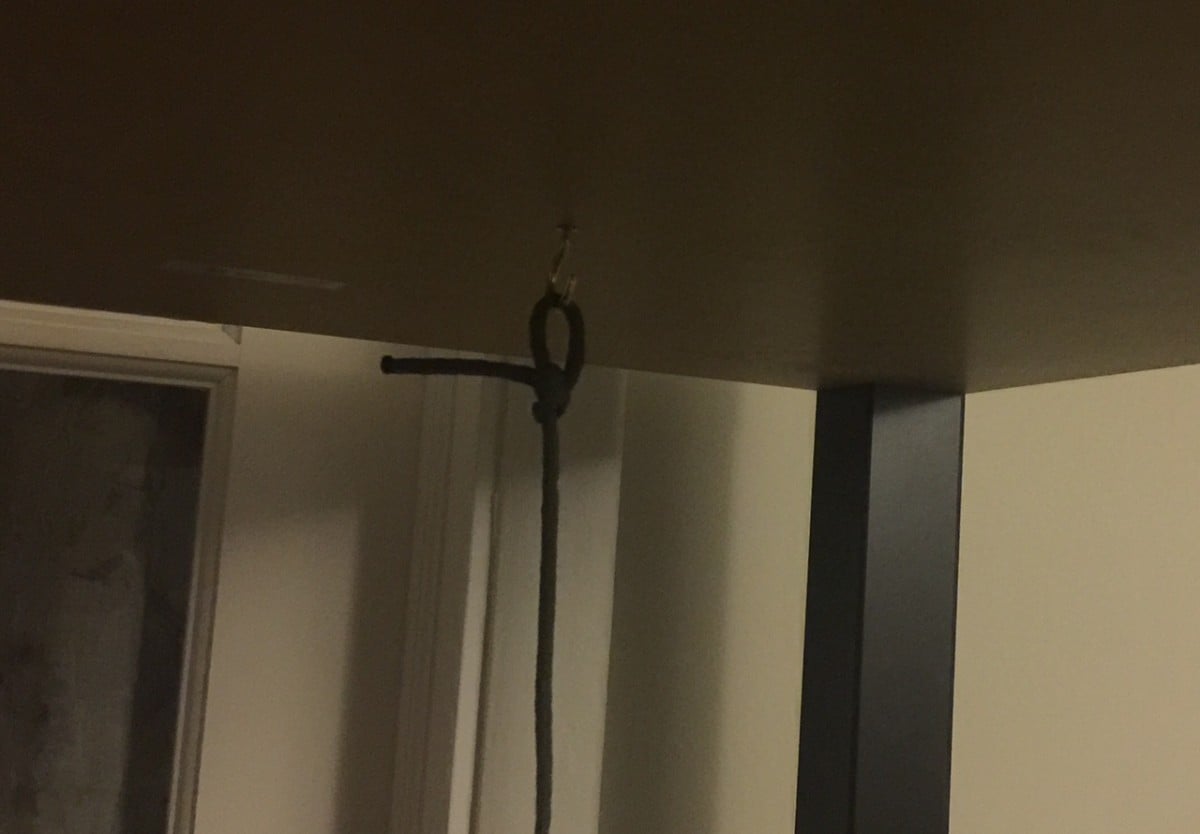
* Screw in a hook to the underside of the side table, and add some string or a cat toy to it.

* Add any other cat furniture/mats/toys/scratchers you want. One of the main aims here was to allow me to swap out everything but the LACK frame. The original build had some cushions for comfort, but the cats actively avoided them. Having everything but the frame placed there lets you keep just what’s needed and replace as needed.
* Add catnip to the bath mats.

I also have a SINDAL door mat at the bottom, and I’m thinking of cutting it and wrapping around the legs for use as a scratching post.
I still need to work out how to best attach them though. Like with the bath mats I want them to be easily removable and replaceable, so I’m thinking zip ties. If anyone has any ideas I’d love to hear them.

So far, the cats are loving it. One of the few things I’ve bought for them they’ve actively used as opposed to ignoring and going for the
box instead.
by Mark Harrison