

Materials: Akurum Base Cabinet, Akurum 80″ Tall Cabinet, Rationell Deep Drawer and Fronts, Tablesaw, Drill
Description: One of the biggest questions regarding the Ikea Akurum tall cabinets are how to fit them into a floor to ceiling installation. The 88″ cabinet either needs tall legs to take it to the ceiling (leaving a gap at the floor) or leaves a gap at the ceiling that won’t line up with the other upper cabinets. My approach to this problem was to actually downsize to an 80″ tall cabinet, and build a base unit to bring it all the way up to the ceiling.
The measurements below are based on a 96″ ceiling, a 3/4″ gap at the ceiling for deco strip, and adjustable legs to take care of any irregularities.


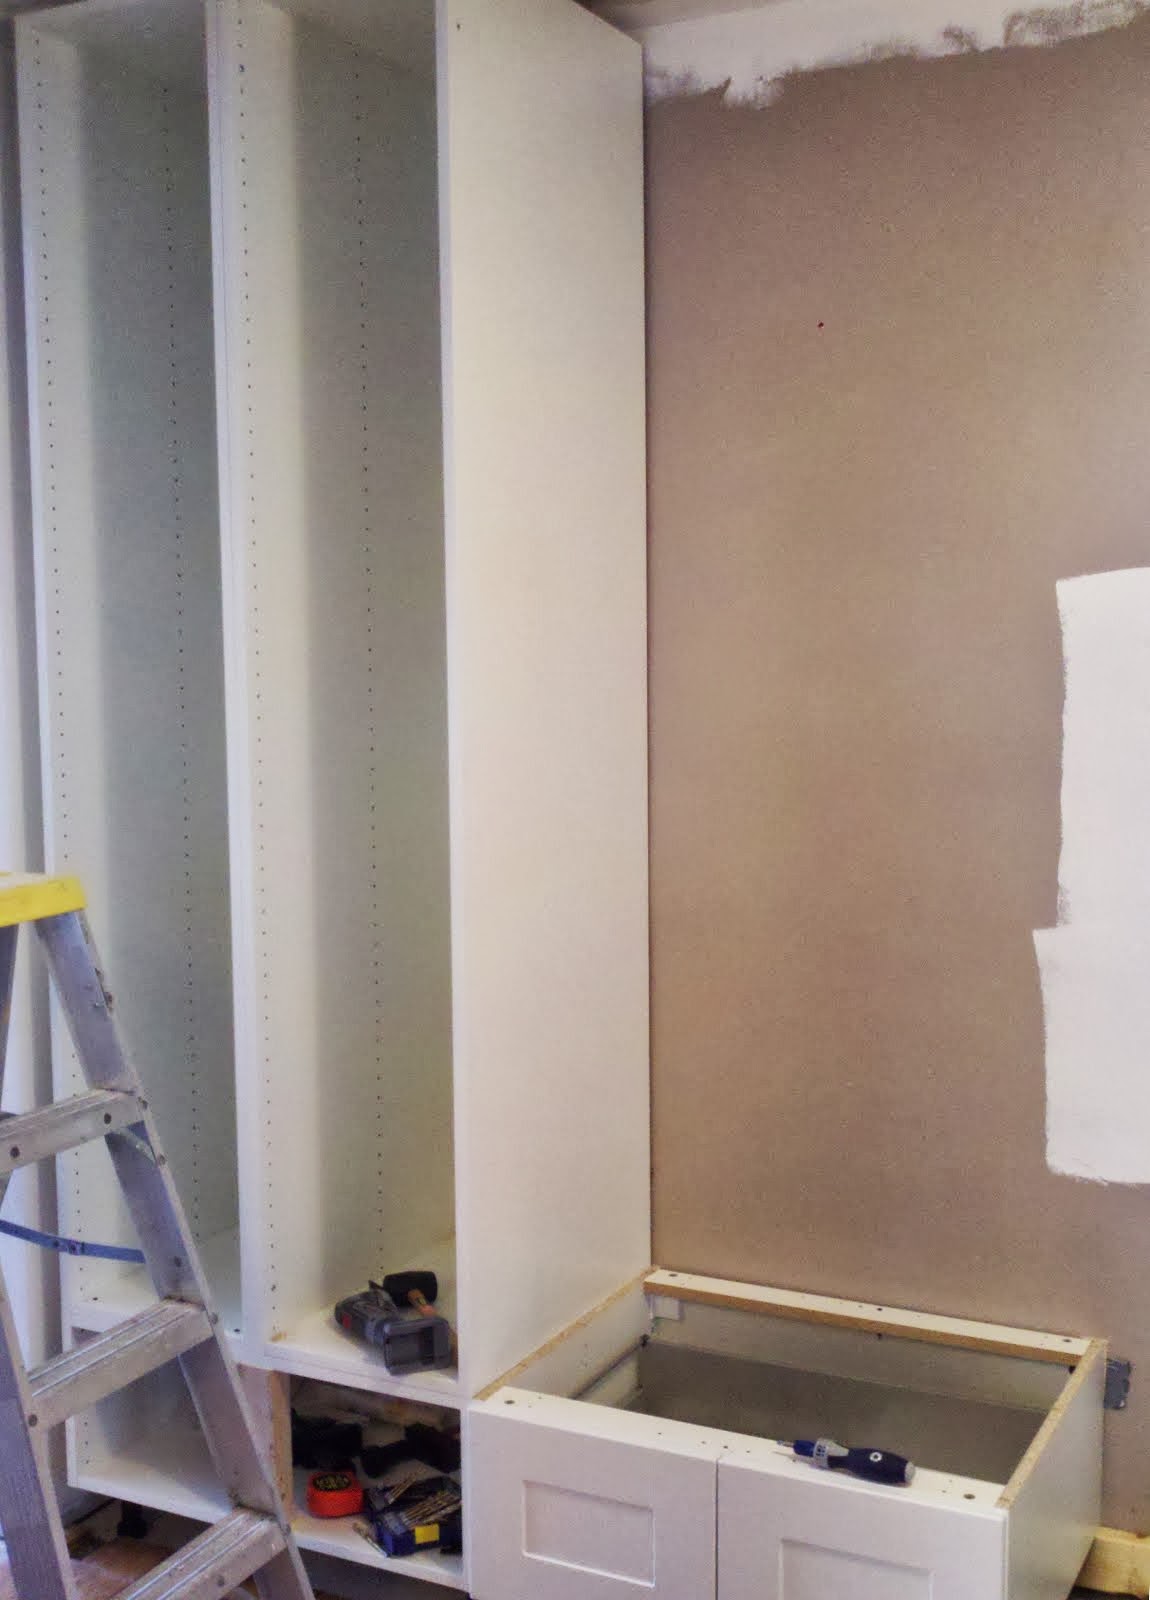

The height of the base unit was determined by a couple of factors. I knew a general size based on the height that the tall cabinet needed to be raised (10-13″). What wound up deciding the height was my use for the base–a deep drawer. I decided to use the 11 1/4″ drawer front (available only as part of a set of 3 drawer fronts). This meant that my cabinet needed to be 11 1/2″ tall to give me clearance above and below the drawer front.
Knowing this measurement, I purchased standard base cabinets (30″ wide for my use, going under a 30″ tall cabinet and 2 15″ tall cabinets), along with a 30″ deep drawer, and drawer fronts. Unfortunately, the drawer front set doesn’t come in 30″ width. So I bought enough sets to have two drawer fronts on each drawer. I’ve got a lot of extra drawer fronts now.
So, onto construction, step by step:
1. I ripped the sides of my base cabinet down to 11 1/2″. The *top* of the sides are going to be your waste here, not the bottom. Since the position of the drawer is dependent on holes at the bottom of the cabinet, the bottom should be left untouched.
(A tablesaw isn’t critical for this step, but it helps tremendously. Your upper cabinet is using these sides for it’s base, so a straight cut is critical. Also, a good blade on a tablesaw will result in a lot less tear out of the melamine than a circular saw.)
2. I drilled new holes for the cam bolts (3/16″ bit) and dowels (5/16″ bit) for the top stretchers. The best way to locate these holes? Use your waste pieces from step 1 as a template. Line up the top of the waste to the top of the remaining side. Drill straight through the holes in your waste pieces.
3. Rip down the back to 11″ tall. As with step 1, the top of the back should be your waste, as the mounting holes will probably not line up with the new location for the braces.
4. Assemble the cabinet normally. Attach the rear L shaped mounting braces to the top most accessible set of holes. Drill new holes in the back for the screws that will go through these L braces.
5. Mount the cabinet normally. I prefer to use a level ledger board, rather than the back pair of legs, but that’s up to you.
Drawer assembly and installation is completely by the book. If you find yourself having to use two drawer fronts as I did, here’s how I attached the two drawers together:
1. Prep a piece of plywood about 8″ x 4″. Paint it to match your cabinet front color choice. The match doesn’t need to be perfect. Since the drawer fronts should have a slight gap between them, this painted plywood plate will give the illusion of cabinet structure behind this gap.
2. Install the drawer front clasps to the drawer fronts normally, except only install one per front.

3. Assemble the drawer normally, and, and attach the fronts to the drawer.
4. Keeping the drawer fronts aligned with each other top and bottom, find the proper gap (about 1/8″). Since they are attached to the drawer already, you’ll find this gap naturally.
5. Place your plywood plate (step 1) behind the drawer fronts, with it’s bottom sitting on the bottom of the drawer. It’s critical that the plywood is in contact with the drawer bottom.
6. Attach the plywood plate to both drawer fronts. I used a brad nailer to give me an immediate attachment, and then screws for a more permanent bond.
7. Run a screw from the under side of the drawer bottom into the plywood plate. This screw keeps the middle of your new drawer front secured to the drawer.
Once everything is complete and securely installed, build your 80″ upper cabinet and set it on top of your new base. I put a couple of screws through the base of the tall cabinet into my base units, just to help them function as one unit. Just don’t use this as an excuse to not securely fasten the tall cabinet to the wall (as covered in the instructions)!
~ Tim Laird, Grand Rapids, MI