Saturday, April 28, 2012
Curtain panel bluff and room divider
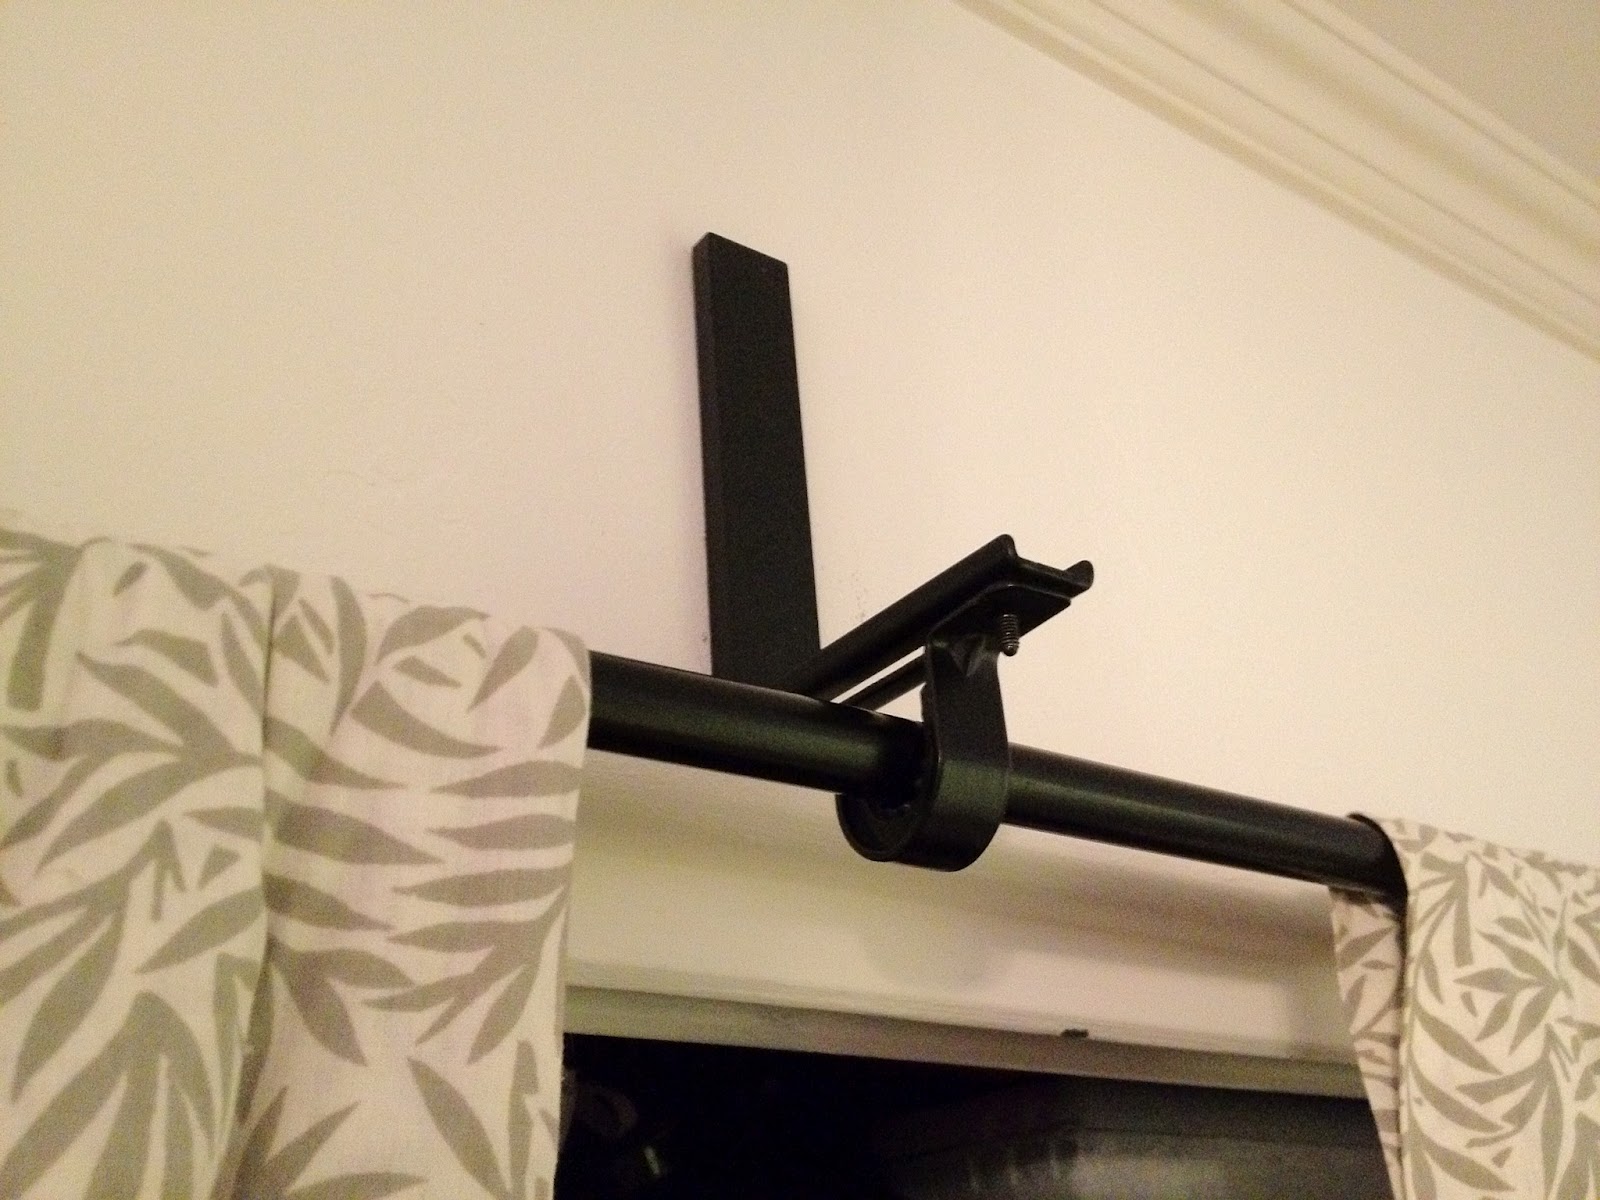
Materials: IRJA Curtain rod set, Riktig curtain loops/hooks, Betydlig ceiling brackets, KAJSA curtain panels,Drill, screwdriver, hammer, hacksaw, mounting screws
Description: I wanted the look of the curtain panels but didn't want to double the cost by using the recommended rails and sliders.
This is two related projects as they all include the same/similar hardware
1. Room divider
2. Closet "Bluff"
I inherited one, clearly IKEA. The only project that required cutting the rod with the hacksaw was the Bluff. The other rod slides open.
I used two Betydlig ceiling brackets per project @$1.49 each. Easy to mount with the option to easily raise/lower or slide the bracket back/front.
Instead of cutting the curtain panels, I rolled up the excess on the tube it came on and, for pinned them up. The weight gives it the right look with out the recommended hardware. You can also slip in a short piece of the remaining rod in if you want more weight.
The loops work well, too! Five per panel is perfect.
~ Clayton Smith, San Diego, CA
10 comments:
Everyone is free to comment but IKEAHackers.net reserves the right to remove comments that do not contribute constructively to the discussion, contain profanity, personal attacks or seek to promote a personal or unrelated business. SPAM will be deleted.
If you have a Blogger profile, you can click on the SUBSCRIBE BY EMAIL link that will show up below and receive all follow up comments on the hack via email.
Don't have a Blogger profile? Create one for free here so you won't have to be be listed as "anonymous".
Subscribe to:
Post Comments (Atom)

Looks great! I love your choice of fabric. Since it's a small space, I think I'd go a step further and spray-paint the two wooden tables, the arms of the chair, and probably the metal shelves the same color (neon green? royal blue?) to further unify the space.
ReplyDeleteVERY NICE Thanks I need to do that in my apartment between dining and living area. Great.
ReplyDeleteThe dividers really make a huge difference! I would not have thought of putting a chair in front of the divider. Great idea. Looks nice & neat. Great for hiding clutter. I might do something similar in my daughter's room.
ReplyDeleteThose curtains were on special $6.99 on ikea San Diego, Ca. bought one and use a triangle rail for 4.99 (on sale too).
ReplyDelete@Terri - Thanks for the input. I wouldn't have considered painting some of the items but will! Would love another splash of color. The shelf is stainless steel though (also IKEA) so likely not. ; )
ReplyDeleteI am amazed how each side of the mid-room divider really feels separate. With the bathroom opposite the dresser, it creates a private dressing area but still allows light.
@Tina - Love the bluff! And yes, the chair seems so "in the middle" but not with this layout and the dividers and bluffs!
I got them on sale, too! Very pleased how they work in with my colors but aren't more of the same. Very different effects with the sheer vs opaque. Lots of fun and possibilites!
Clayton Smith
San Diego, CA
@ Terri...
ReplyDeleteYou were right about unification. Check out this green. Love it!
http://tinyurl.com/7d5nxvn
Clayton
A very pretty room. My daughter will surely love this place. I took her to daniels homes and as a gift to them (newly weds) I gave her a living room set same as this. Our goal now is how to make it as cozy as this.
ReplyDeleteI hope your project goes well for your daughter's place. I've really enjoyed the divider and bluff and how it creates separate spaces. Thanks for the nice comments.
ReplyDeleteClayton
I just bough this hardware. Did you anchor them? Thanks:)
ReplyDeleteHi Kaela,
ReplyDeleteI used wall anchors (albeit the ceiling) with no problems. It's all quite light.
Good luck!
Clayton