

Materials: Vittsjo, Poster Board, Beer Coasters, Mod Podge, Hot Glue
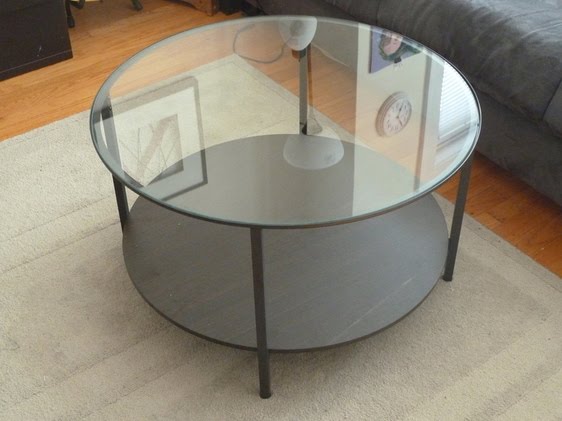
Description: This simple hack can turn your coffee table into a frame for an awesome collage. By using the fairly inexpensive Vittsjo coffee table ($50), some poster board, hot glue, and a little elbow grease, you can have yourself a great conversation piece. For this hack I used cardboard beer coasters that you get at any bar/restaurant. Here’s how I did it:

1) First, layer your poster board (I used 3 sheets) so the overall area is larger than the glass top. Tape them together so you have yourself a single piece. I chose black poster board to match the color of the table. Carefully set the glass table top on your poster board, and with a marker, trace around the outside. Remove the glass and cut along this circle. You now have the base for which the coaster will be glued to. Note: If you are using pictures/photos instead of something thicker like coasters, I recommend using a large piece of cardboard (available from the box the table came in) rather than poster board. I didn’t use cardboard for this project since it would make the “insert” too thick and the glass tabletop would sit higher than the table lip.
2) I used two layers of coasters, mainly because the round coasters do not fit together nicely and you end up with large gaps between them. The bottom layer consists of all square and rectangle shapes. This allows for an even fill as your base. As such, I recommend using your least favorite coasters for this step since they will be mostly covered up by the second layer. First, lay out your coasters on your poster board circle. It’s okay for coasters to hang off the edge, you will trim them in the next step. Once the coasters are all laid out, carefully hot glue each one to the poster board. Glue the entire perimeter of the coaster to insure a good stick.

3) Now that the first layer is glued, carefully trim the excess coasters around the edge of your poster board circle. You should now have the first layer glued and trimmed into a circle. Next, spread a layer of Mod Podge over everything, being careful to spread it evenly and between all cracks. Mod Podge
is a waterbase sealer, glue, & finish, which will protect the coasters. Allow about a half hour for this to dry. Once dried, see if your insert will fit on the table where the glass top normally sits. If it is too large you may need to trim the edges.
4) Now it’s time to glue your second layer of coasters. These will consist of circular, oddly shaped, or your favorite coasters. This layer does not have to be packed tightly together like the base layer. Spread them out however you like, keeping in mind this layer does not need to hang over the edge of the circle. Like before, apply hot glue around the perimeter of the coaster to insure a good stick. Apply a layer of Mod Podge over these new coasters, simply to give them a nice glossy finish. Allow the Mod Podge to dry.

5) Now that everything is dried, set your creation onto the table ring where the glass normally sits. If done correctly, the coasters should not sit higher than the lip on the table. This insures the glass cannot slide off of the coasters. Carefully sit the glass on top of the insert, and voila, you’re finished.

6) Why stop there? These inserts are very easy to drop in and out of the table. Make a collage of travel photographs. Gather book covers of your favorite novels. Assemble DVD sleeves of your favorite movies. The possibilities are endless.
~ Justin P