
Materials: RÖNÅS candle-holder, textile cable, lamp socket, drill, shrinking tube
Description: After installing a long counter in my combined living room-kitchen a while ago, installing adequate lighting as well was a constant ToDo item on my list. As I was totally not satisfied with all of the affordable pendant lamps I stumbled upon, I clearly had to make one myself.
By Chance, I found the simple RÖNÅS candle-holder at IKEA. I liked the slick design of the brushed, nearly polished aluminium body (though not finding it to be a nice candle-holder, actually) and imagined it hanging down by some flashy coloured textile cable from the ceiling. By “carefully examining” the sample, it turned out that the base plate can be taken off by removing three small screws. This allows the installation of a bulb with not too great diameter.


Steps:
1.) Remove the base plate after peeling off the rubber sheet from the bottom. Be careful not to touch the stinking something the IKEA guys chose to increase the weight. Your hands will smell for hours afterwards, believe me.
2.) Drill a hole at the center of the top where the candle should have gone. I used a 10mm drill for a reason I will explain in the next step. It is probably a good idea to drill a few smaller holes circumferencing the big one to allow the heated air to leave the assembly. Structural stability shouldn’t be an issue here.
3.) The usual European E-14 bulb sockets are a good choice. I installed it an the end of the textile cable (use shrink tubing to prevent the fabric from unraveling). Together with these sockets, you can usually purchase a simple type of cord grip. It is meant to be screwed into the socket but can also be turned around and used as a spacer (see photo). The M10 thread will fit into the previously drilled hole and center (and protect) the cable.
4.) I found many of the available E-14 energy-saving lamps to fit into the body. But, if you ask me, the light is disgusting. So I used conventional bulbs (28W Philips EcoClassic, NR50 type) instead, together with a yet-to-be-installed dimmer. Any bulb with a diameter up to about 45…50mm which is narrowing towards the socket should do, but it is strongly recommended to use a reflector-type bulb.

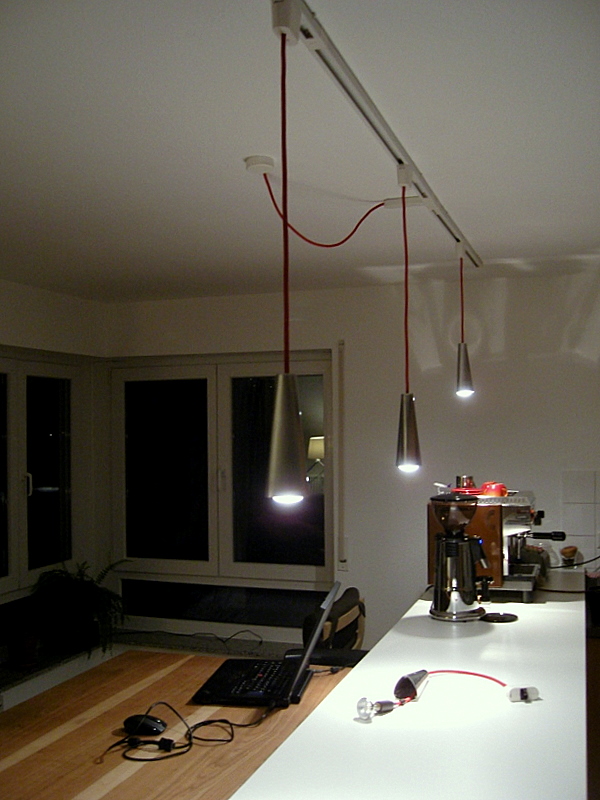
RÖNÅS is available in three different sizes, and I chose the medium one (which comes at about 4 Euros in Germany). I made four lamps and installed them at the SÄNDA track lighting system.
Together with cable and socket, one pendant lamp should total to well under 10 Euros and is made in under 15 minutes. Have fun!
P.S.:
5.) Leave a comment if you made one!
~ Daniel, Freiburg, Germany