

Materials: IKEA Rast Dressers
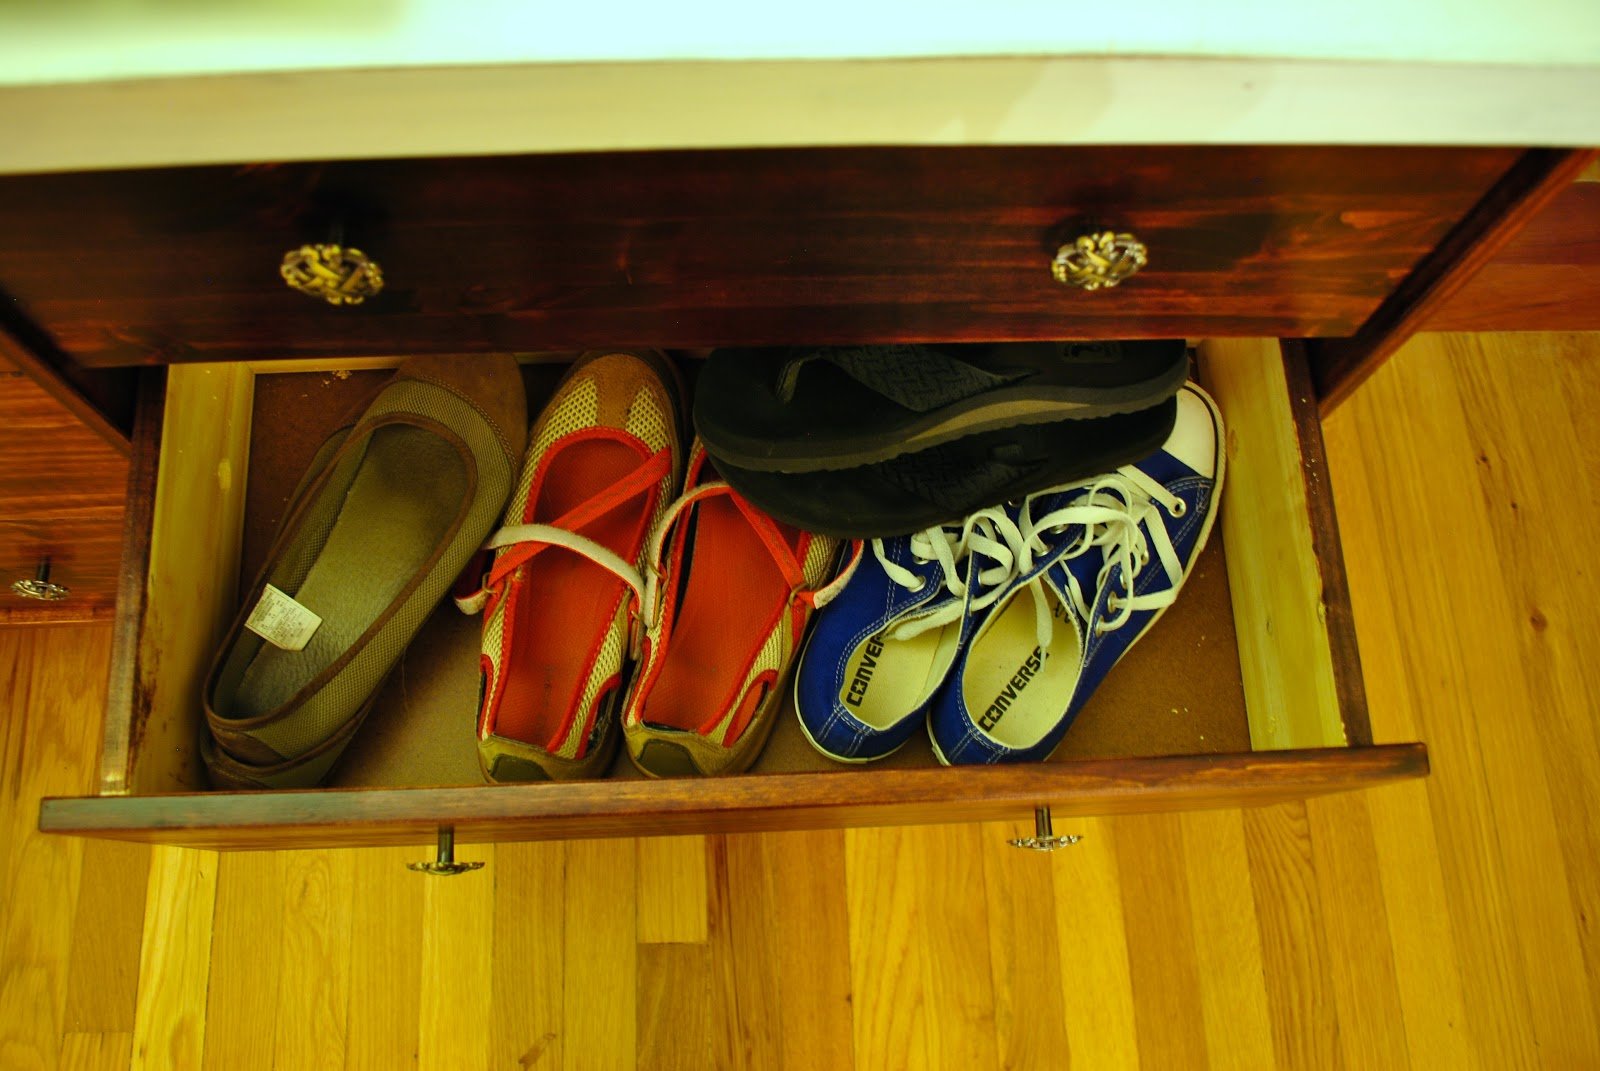
Description: To solve a perpetual entryway problem involving our shoes, I decided that I wanted to take two IKEA Rast dressers and combine them into a side-by-side version, and then add some legs. My inspiration actually came from another IKEA hack, but I needed to put a bit of a different spin on it in order to make it work in our space.
The first step was cutting the base off the bottom of the three vertical braces. The outer two were cut so that the side of each piece met the 1×2″ board that I was using to brace the bottom. The middle piece was cut a little shorter so that the bottom sat against the 1x2s. (You can see what I mean in the ‘in progress’ picture!)
On the middle piece, I also drilled the holes that hold the drawer runners all the way through so that I could put the drawer runners on both sides. I also had to shave the back lip off of the middle piece so that the backing could be nailed flush on both sides.


Once the three sides were attached to the 1×2 bottom braces, I did attach the tops – but only for extra stability and support. With the entire base built, I then created a kind of “tray” over the top combining a 1×12″ and a 1×2″ to get my desired depth, and then creating the finished edges using lattice (just glue those suckers on!).
After the top was built, I flipped the entire thing upside down and added 6″ square legs from Home Depot. I think they were $3 a piece – and well worth it! The legs really help make the whole piece fit into our space and doesn’t block the gorgeous wood border in our living room!
After the legs, I did the tedious work of filling in all holes with wood putty and sanding them flush. And then I was finally able to stain the entire piece using Minwax’s Red Mahogany. Once the stain set in, I used some leftover white semi-gloss paint on the top. After layering on two coats, I used 120-grit sandpaper to “antique” the top – which basically means I rubbed off some of the paint to expose the stain underneath. It gives it an older look, instead of a store-bought freshness.

Overall this was a pretty inexpensive project – well under $100 even with the knobs ($1.19/piece at Home Depot) and lumber for the top, and I’m completely in love with the final product!
See more of the Rast shoe storage.
~ Chelsea