
Materials: Lindmon wooden blind, wood glue
Description: Put the blind into the shut position so that all of the slats are lying flat, and lay this on the floor. Decide the size you would like your notice board to be: I opted for the easy size which is a square the same dimensions as the width of the blind, meaning no cutting or sawing needed. Gently cut the string at the top of the blind to remove the metal and at the bottom to remove the thick bottom slat, being careful to keep the rest of the slats in place.

Next, remove one slat to use as a measuring stick to decide the number of slats needed, and then remove any extra slats by sliding them out the side of the string.
With the spare slats removed, create a frame and glue together using ‘No More Nails’ or similar, as shown in pic.

Next, use a couple of extra slats to position down the middle to add support to the frame. Unfortunately I don’t have a picture: excitement must have got the better of me!
Once the glue is dry, simply glue over the top of the frame and position the slats on top, ensuring all the edges are flush. Leave the string at the top and bottom hanging and then tie up when the glue is dry. I tied the string into a loop and use it to hang the board onto the wall.

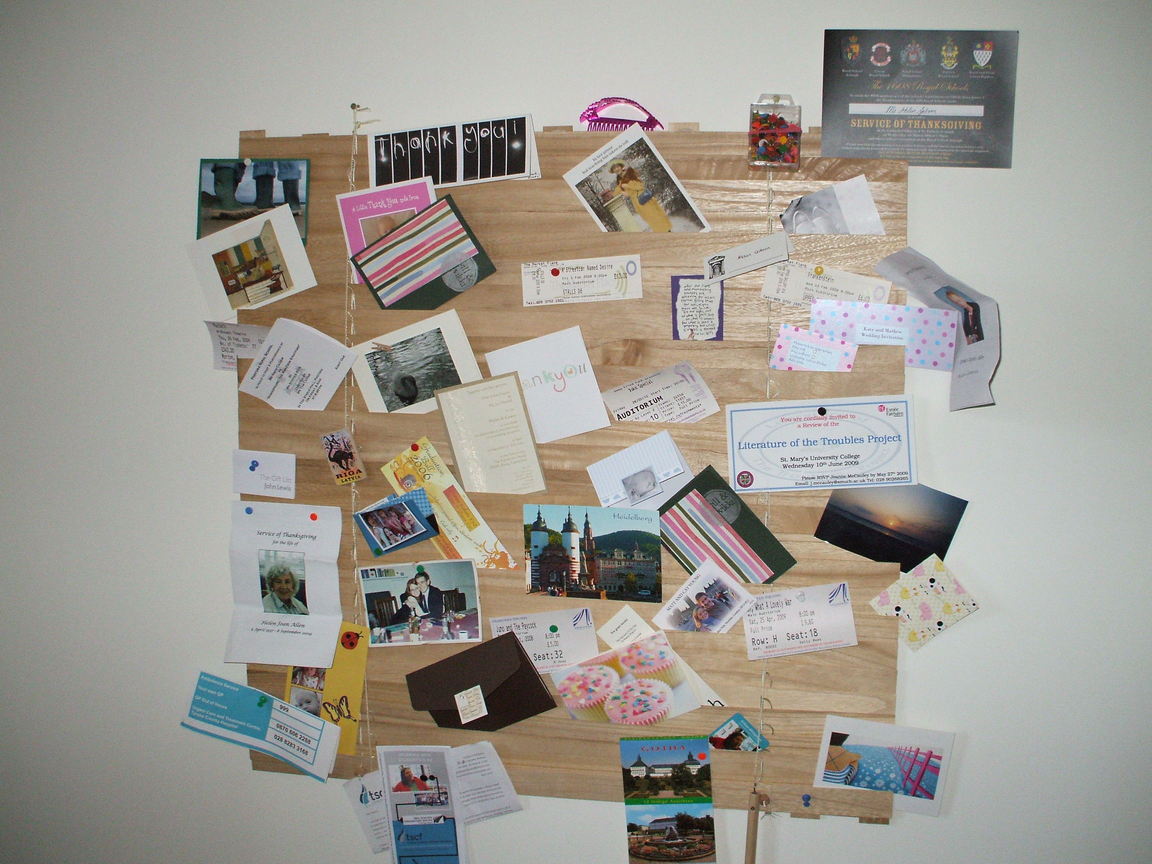
Enjoy placing your photographs, ticket stubs, invitations etc in between the slats or attach with drawing pins. The wood is nice and light so easy to get pins in and out of.
See more of the Lindmon noticeboard.
~ Helen, Bellanaleck, Co. Fermanagh