
Bart makes a desk for her daughter’s loft bed.
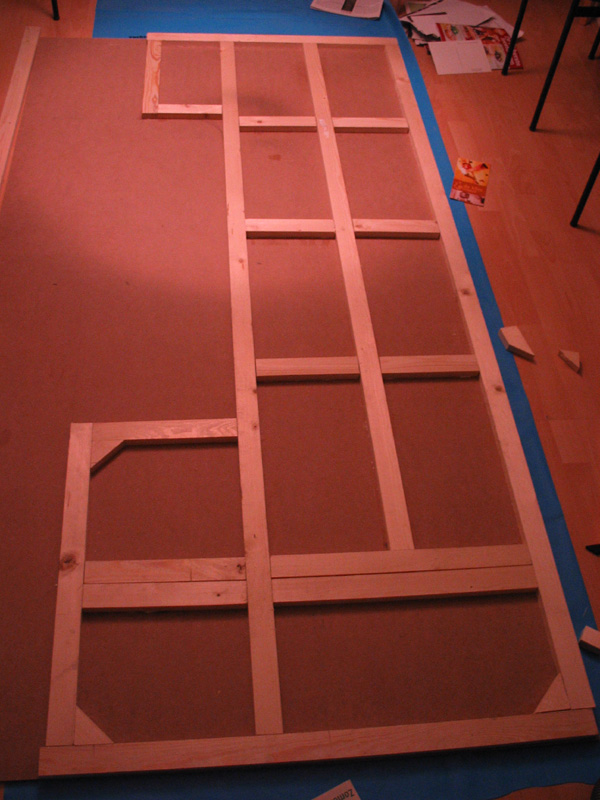
He says, “I made this desk for my daughter’s Ikea Lo loft bed. It was her idea to make the desk under the bed, as she likes sleeping high. It also makes good use of the space in the small room. Actually most of the work was figuring out the design and the dimensions. To make the desk rigid but not too heavy I made a cheap hollow core from two 6mm MDF sheets and some whitewood. Making the core was pretty straightforward. I marked the rough dimensions on the MDF and glued on some whitewood 22x48mm. This didn’t need to be precise as I cut the core to exact dimensions with the circular saw after it was all glued up. When the bottom was ready I glued on the top MDF sheet: some crates of beer came in handy as weights. The curves I routed with a template and a bearing guided bit.
I covered the core with white laminate and trimmed the edges with a router. We thought about selecting some pacific blue color, but decided on the boring off-white in the end. It would just have been too much color in the small room. For the supports and back I used 18mm Baltic birch plywood, same kind of wood as Ikea used for the bed posts. In the plywood I screwed so-called Rampa nuts to thread the Ikea hex bolts into. As I wanted the desk to be height adjustable I installed some extra Rampa nuts. As the holes in the Ikea bed posts are at 96mm, this means the bed can be adjusted in 48mm intervals.


On the left side I needed some clearance for feet climbing up the ladder. If the ladder is ever changed to the right side of the bed, the whole desk can be flipped over to right-hand configuration. The plywood was glued to the core with Lamello biscuits (a wood joining system using small wooden plates). This was a fun project and not too much work, I’m pretty pleased how it turned out. I suppose the whole project could be done without the machines I have (router, Lamello) if a circular saw, scroll saw and a lot of sandpaper is available. The core could be painted instead of glueing on laminate.”


